Monday, September 5, 2011

September 2011 Card Class

Wow two months in a row I'm early getting the projects ready for Saturday's class!  This month's class we will be learning 4 techniques and making a Crimp Envelope Card.

The techniques are: Stamped Acrylic Block Background, Paper Buttons, Poppin' Pastels and Scallop Edge Medallion.

The stamped acrylic block background is so simple.  I used Tim Holtz distress inks in yellow and orange to make the background behind the skull stamp.  You apply the ink to an acrylic block with lightest color first and dark color on the outer edge.  Mist with water and stamp onto card stock.  The inside of the card I used the same color ink but used a sponge to apply the ink and to blend it.  The bats are made using a retired Stampin' Up punch, "photo corners extra large".  I trimmed one of the points from the punch to make ears and added googlie eyes.

Poppin' Pastels is created by using versa mark and chalk.  I stamped the flower image using versa mark and with a dobber I applied yellow for the center of the flower and rose or purple chalk for the flowers; I also used green for the leaves.  I cut around the flowers to give the card a scallop look.

To create the scallop edge medallion I used another Stampin' Up punch, "scallop edge border".  I'm sure you can use any border punch you just need to figure out the size of the paper to create the medallion.

The crimp edge envelope card was another simple card to make.  Seal an envelope and cut a side off to create the top.  Apply any stamping and distressing before you crimp the envelope.  Cut a piece of card stock or several if you want to layer for the inside greeting.  I used the buttons on this project using another Stampin' Up punch, "boho blossoms punch" and a retired stamp set, "punch potpourri".  Usually you would punch two holes in the buttons to make them look like buttons but I didn't want to ruin the flowers.

Below are photos of each project along with a group shot of everything.

 
Group shot


Stamped Acrylic Block Background


Poppin' Pastel


Scallop Edge Medallion


Crimp Envelope Card

Paper Buttons


I hope the have at least one recycle mini album done before class so you can see what the special class project will look like.  This class is scheduled for Saturday Sept. 24th.  I will be posting photos when they are done.

Tuesday, August 9, 2011

August 2011 Card Class

Can you believe it I'm early posting this week's card class projects!!!  We will be learning 3 different style of techniques: Direct to Paper, Misting with Markers and a Diamond Fold card.

The Direct to Paper technique is applying ink from an ink pad directly to paper.  We will be making 3 different cards using this technique, one plain and two using an embossing folder in two different applications.

Misting with Markers technique gives your image a water color look.  Using a variety of markers on a stamp then misting the stamp with water and applying it to water color paper or card stock.  We will be using regular card stock in our project.

The last card is a Diamond Fold card which is really pretty simple to make.  A few scores and some folds give you a unique shape card.

Below are photos of what we will be making on Saturday.

Group Shot

Direct to paper

Direct to paper

Direct to Paper

Misting with Markers

Diamond Fold


Our next class will be on September 10th, hope to see you there.

Sunday, June 5, 2011

Hair Accessories

I've been busy making so many things and I'm really getting behind on posting photos of all my creations.

I started making hair accessories along with my jewelry.  Here are some photos of hair adornments I have finished.

I'm making the flowers out of lace, ribbon and material along with custom tye-dyed coffee filters.  Some of the flowers are from various die cuts I own others are from me sewing the lace or ribbon to create the flower.  I'm adding feathers, buttons, jewelry, beads and what ever else I can find to decorate them.

 
cream lace flower with feathers and pearls

cream lace flower in hair

black lace and red material with black beads, red feathers and silver earring center

cream lace with button center & feathers

orange ribbon flowers with feathers

cream double lace flower with material and coffee filter die cut flowers with feathers, beads and button center

Back to creating more goodies for the two events coming up for vending.

Gift Card Boxes and Card Holders

In May's craft class we made gift card boxes and gift card holders.  I've been a little slow on posting projects it's been so crazy around here.

We made a couple of boxes one being a baby buggy and the other a little tote bag.  The gift card holders were a simple card and a purse.

I also made a graduation box for my hubbies grandson who just graduated from High School.  It looks complicated but it wasn't.

 group shot of projects

 tote bag

 graduation box & card


June's craft class will be a button class were we will be making all kinds of jewelry and other items using buttons.

Tuesday, May 10, 2011

Lots of Jewelry and a Handbag!!!

I have been very busy making jewelry and experimented with a jean handbag and having so much fun!!!

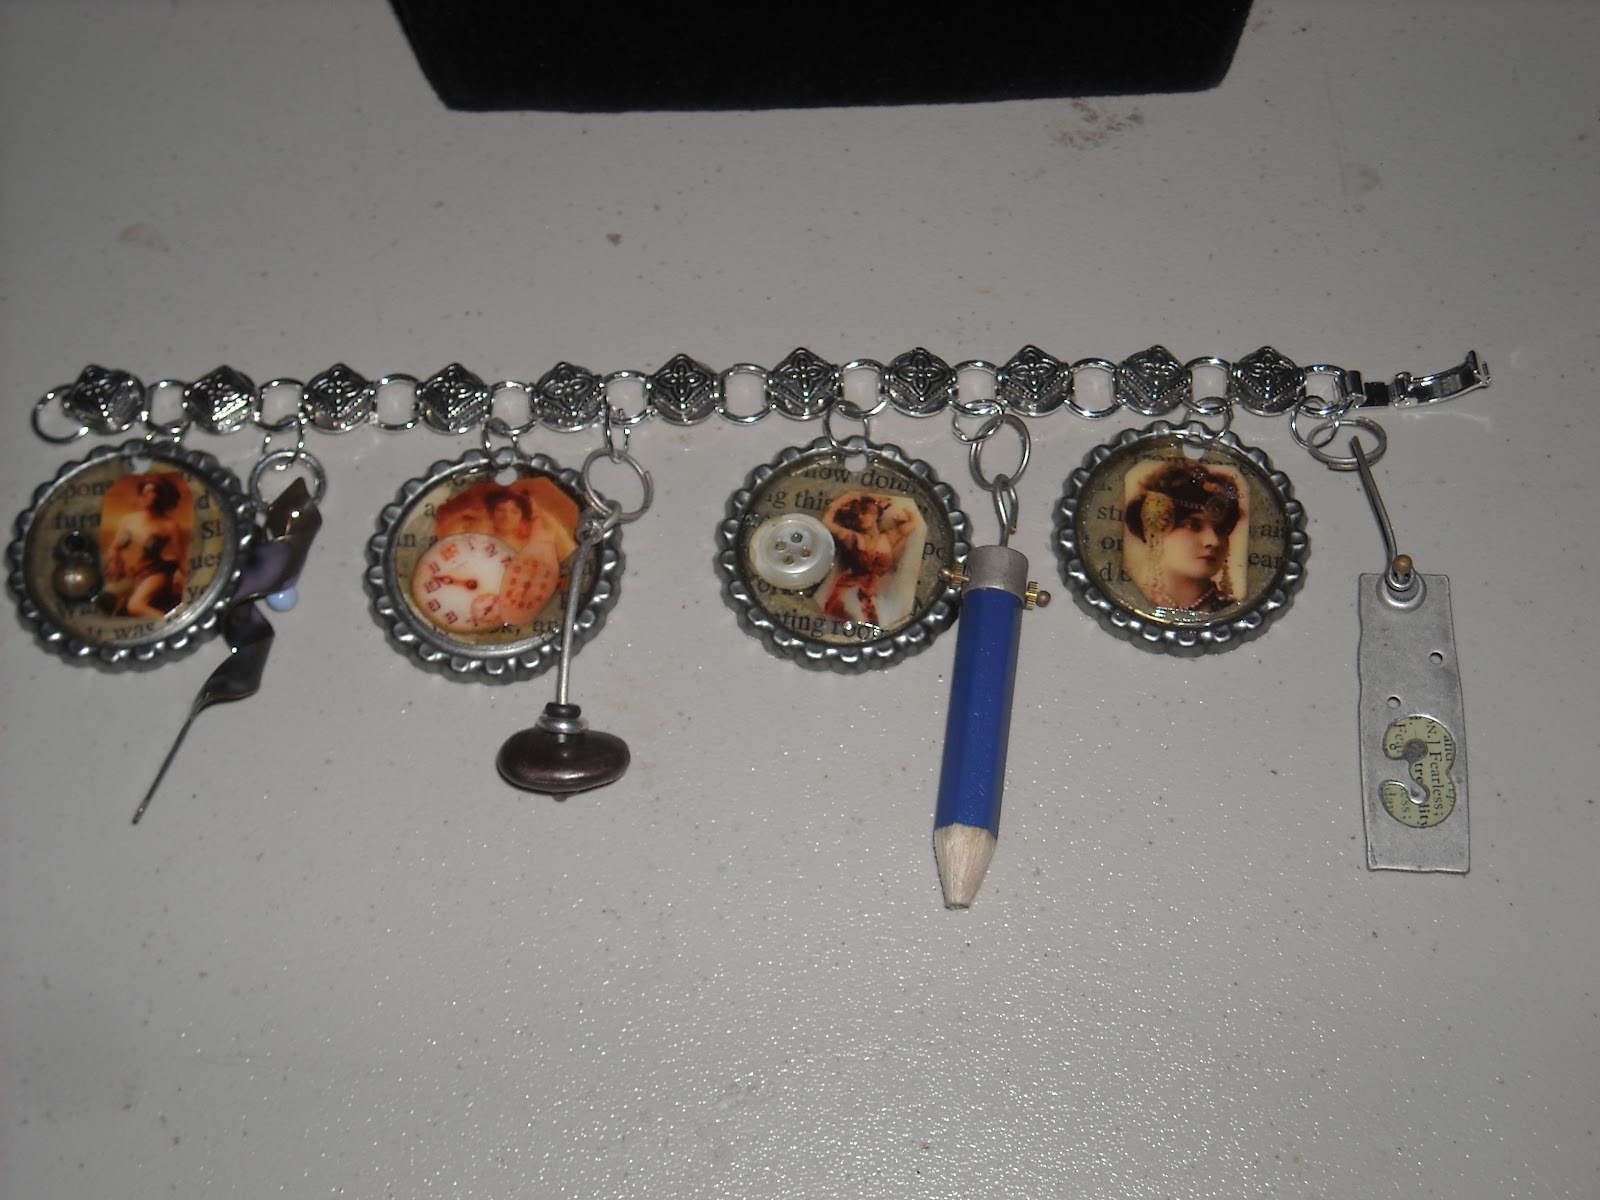
I've been asked to teach a craft workshop at a belly dance event so I thought I would teach how to make magnets out of bottle caps, dominos and puzzle pieces along with a bottle cap pendant using vintage belly dance graphics.  I started flatting the bottle caps and since I'm vending my crafts at the 2nd Friday Night Out in downtown Mesa I branched out and used other vintage graphics for the bottle cap jewelry and magnets. 

Using the bottle caps I created earrings, pendants and some charm bracelets.  I'm having a very difficult time figuring out what I'm going to keep and what I will sell and at this point I'm keeping more than selling; yikes!!! :-)

I have also started creating bracelets with buttons and made up several last night using plastic buttons and metal buttons.  I need to purchase some jump rings larger than what I have to create my next button bracelet. 

While I was in the book purse making mode I created a purse out of a pair of my husband's old jeans and I'm shocked it turned out!!!  I didn't have a pattern I saw a video on YouTube were this woman cut off the legs of the jeans and hand sewed across the bottom, put a handle on it and called it a purse.  I took it a bit further and put a bottom in the purse along with lining and finished it by putting a scarf I had and two of my Grandmother's pins on the handle.  I'm really pleased how it turned out and will be making more of these purses.  I also created a t-shirt tote bag and will be making more of these also. These are great for a dance bag or taking to the grocery store.

Below are photos of some of my new creations.


Back to creating cards for this weekend's workshop...

Wednesday, April 27, 2011

Book Purse

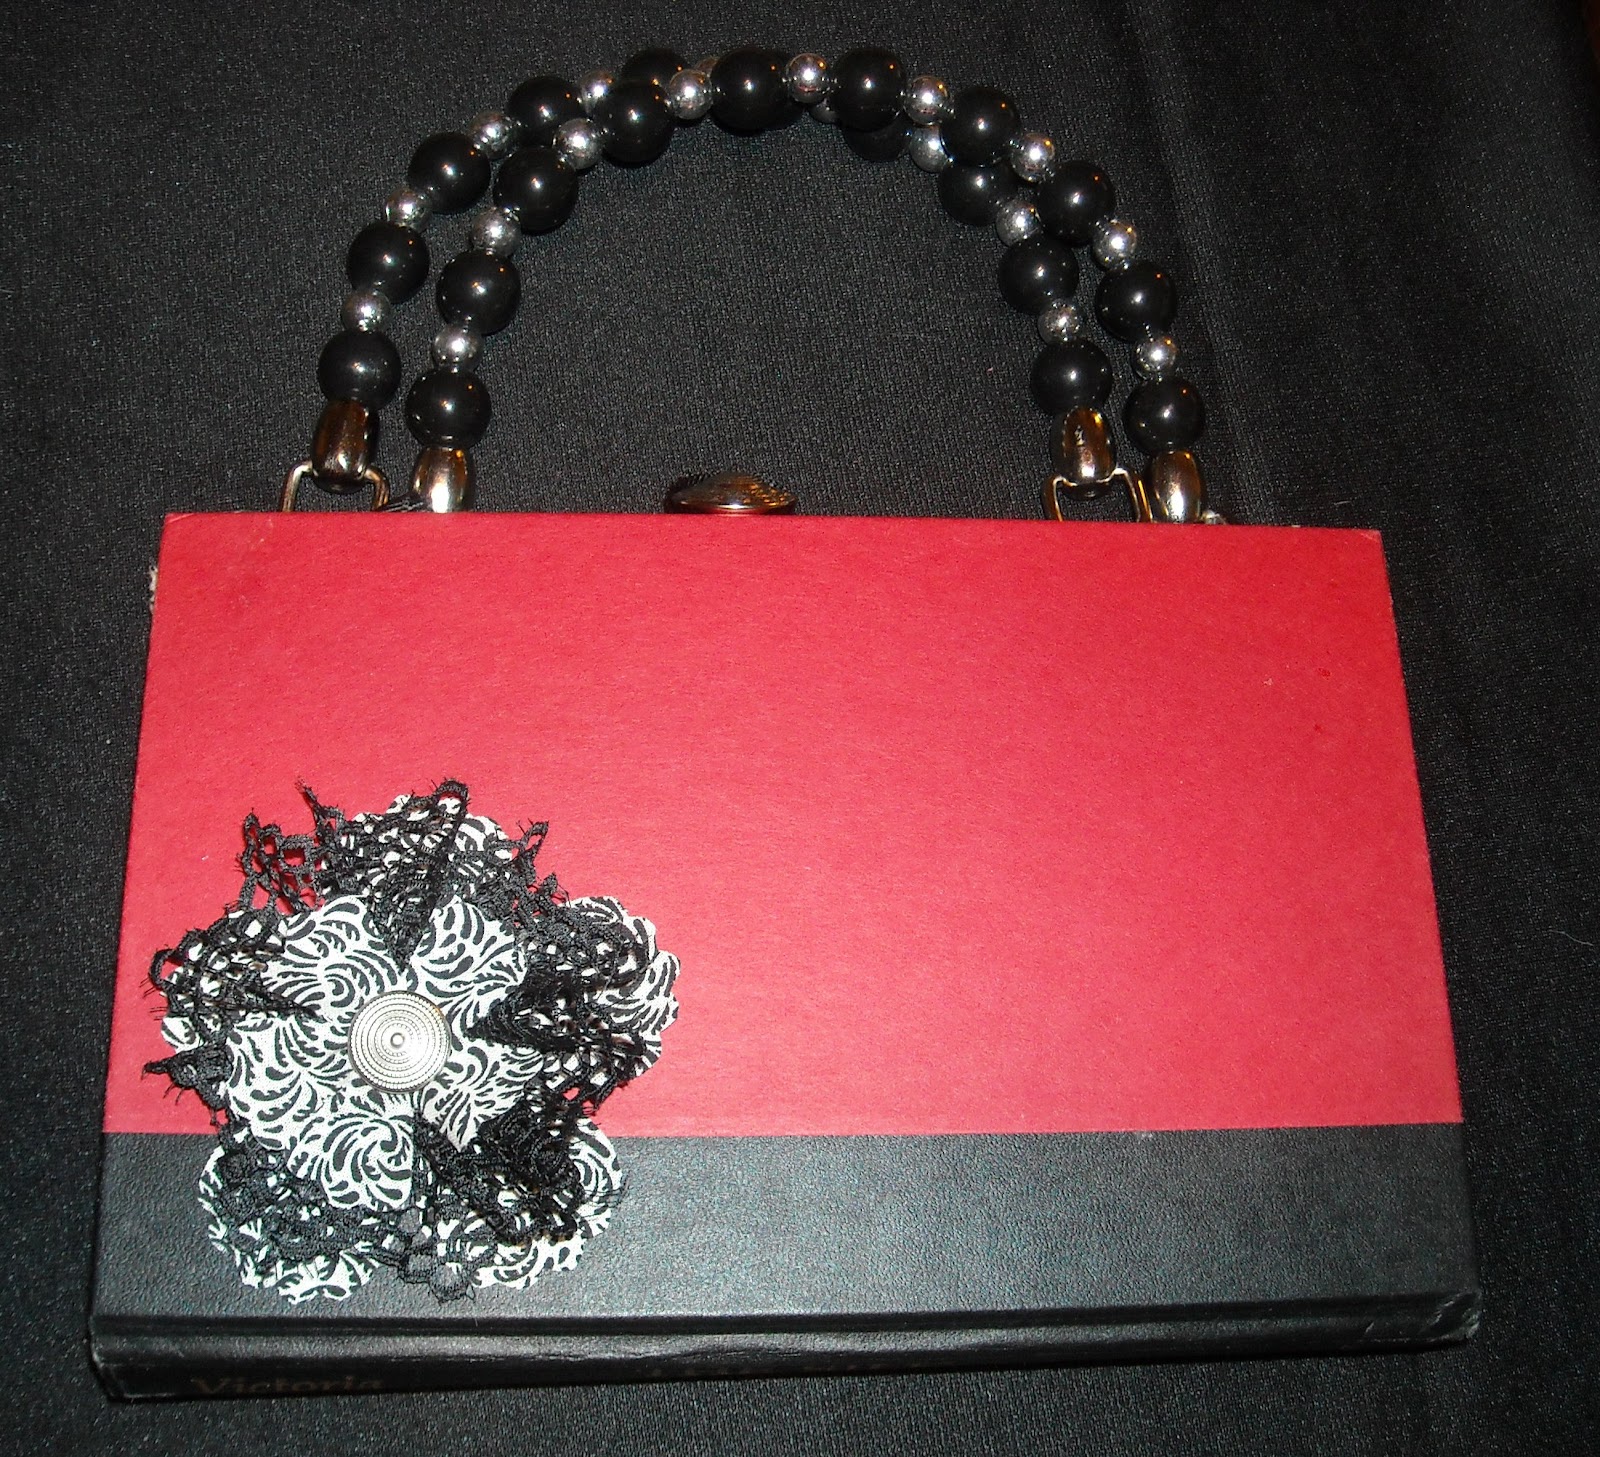
Finally a sample of this weekend's project is done!!!   I made this book purse using a plain book cover so I could embellish it a little. 

After several attempts I finally found fabric that was easy to work with.  The first book I did you will see at the workshop I used material that was a cotton blend and it's too heavy.  I started this book with another cotton blend fabric and ripped it out due to it being too bulky and heavy and went with this pattern fabric of a nice light weight cotton so much easier to work with.

I found this fabric at Jo Ann's in the quilting section called a "fat quarter".  I had enough for the lining, sides and center piece but not enough for a pocket.  The "fat quarter" is 18" X 21" piece of fabric and my book is 8 1/2" X 5 1/2".

I purchased a purse handle from Jo Ann's and made the flower out of scraps from the lining and a piece of lace.  I used two metal buttons, one the the purse clasp and the other for the center of the flower.

I finally found glue that would hold, Tacky Glue.  I tried other fabric blue and I didn't like the results.  I'm not a fan of a hot glue gun although I was getting pretty close to trying one :-)

All and all it turned out pretty cute and I'm sure the more I make these the easier and better I'm going to get at it.

Below of photos of this cute little purse.


Enjoy your week I'm off to make more jewelry for 2nd Friday Night Out on May 13th.

Friday, April 8, 2011

April Card Class

I'm so far behind this month posting this month's card class.  In tomorrow's class we will be making an easel card and the following techniques: black magic, distressed glue and faux title.

Below are the cards we will be making.


group shot

Black magic

close up

distressed glue

easel card

side view

faux title

On April 30th is the book purse making class.  My goal is to have 3 purses made and posted soon.

Tonight is 2nd Friday Night Out in downtown Mesa and I will be selling some of my craft items along with some of my students will be performing.  It's going to be a fun weekend with crafting and dancing!!!